4. Add via Git
4.1. Main Objectives
The main purpose of this recipe is:
Learn how to set up and use git to commit to the FAIR Cookbook Github repository.
4.3. Prerequisites and Getting Set up
We rely on GitHub infrastructure for hosting the documents making up the cookbook. The reliance of git subversion system ensures robust data provenance tracking as well as traceability of authors contributions.
To make the most of the GitHub infrastructure, we strongly advise about following the git flow process, which we will detail now.
Clone the repo, enter the directory, and test that you are in the main branch by issuing the following command from the terminal:
git clone https://github.com/FAIRplus/the-fair-cookbook/
cd the-fair-cookbook
git branch
should show:
main
then issue the following git command:
git checkout -b my_recipe_branch_name main
git branch
should show:
my_recipe
This means you are working on the dedicated copy of the ‘main’ branch, any change made there will not affect the main files.
When you are done with your edits, use:
git add content
git commit -m 'some meaningful message, possibly indicated that would be closing an issue'
followed by:
git push origin my_recipe_branch_name
If you are done with all the edits, you are now ready to send a “Pull Request” to the main branch. In GitHub speak and jargon, a pull request always specifies a repository and a branch to merge into from a development branch on a repo (forked from a repo and simple cloned from the main branch as we are currently doing)
When sending a Pull Request also known as PR, you will have to specify a reviewer known as an assignee in the GitHub world. This optimally ensures that someone will review the contribution before merging it with the main main branch of the repository. You should NEVER merge into the main branch without a review (unless you are the main owner / editor-in-chief / benevolent dictator for life).
Upon this pull request, the **assignee** will perform a review of the contribution. The contribution will either be merged in the main` if all the quality control checks have passed or will be sent for correction to the submitter. the submitter will carry out the correction and send a new pull request for revision, following the same pattern of revision, submission acceptance merge.
Key ideas:
Each recipe should be developed in its own branch from the main GitHub repository or from a branch in a forked version of the said repository. more information from the
commit often
remember to pull before committing in order to incorporate the latest changes from the
main.
4.3.1. test, test and test again before pushing!
So you just wrote a new recipe in a new markdown file or as a jupyter notebook, and you’d like to see how it looks in the FAIRplus cookbook, what do you need to know ?
Note
Tip Run this mini-checklist!
-[ ] Have you updated the toc.yml file by adding the file path and title to the relevant section?
-[ ] Have you updated the bibliography-faircookbook.bib file with any relevant entry cited in the markdown file?
-[ ] Have you activated the
Reference sectionin the markdown file?-[ ] Have you listed all the authors using the relevant directive and pattern?
-[ ] Have you generated a mermaid file (.mmd extension) to provide a graphical overview of the recipe process (optional but recommended)?
-[ ] Have you added any image file referenced in the recipe markdown to the
imagesfolder?-[ ] Have you built the book locally, either using the Docker image or from source in a local virtual environment ?
If you can answer ‘Yes’ to all these questions, you are probably ready for sending a PR and have your received reviewed.
```{warning}
Why does this matters?

Running the checklist ensures that, upon push to the main repo, the build process triggered by the GitHub action is likely to succeed.
It saves time in the long run and greatly helps the reviewing process, avoiding needless back and forth.
4.3.1.1. Building with Docker:
For testing locally, this is probably the easiest way to do it. To do so, you will need to following:
Prerequisites:
Docker installed on your local machine and running daemon up
Check that you are logged in to https://hub.docker.com
If these conditions are met, then from a terminal and from your local branch, run the following command:
on Mac OS
> zsh ./scripts/docker.sh
for unix users:
bash ./script/docker.sh #
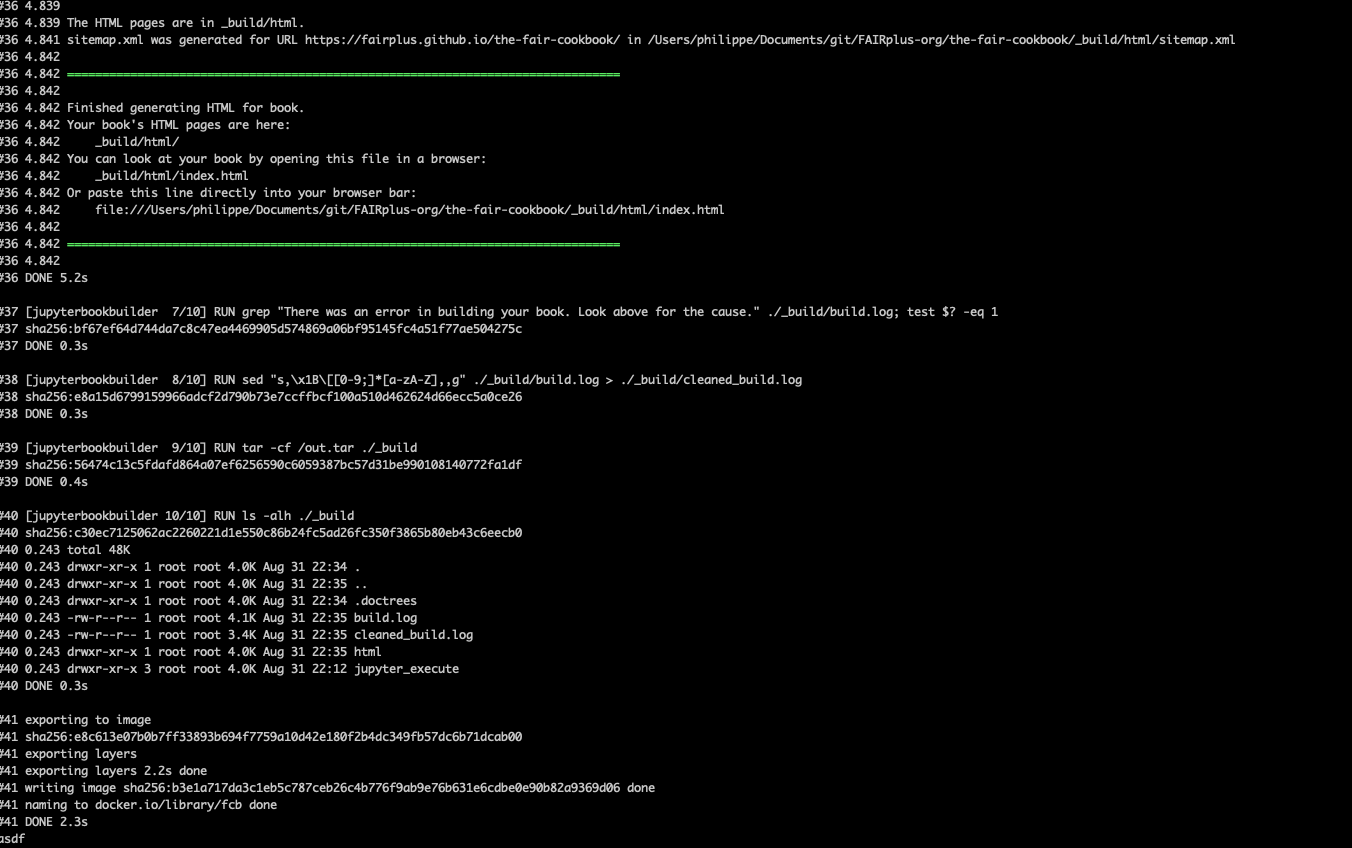
If everything goes without a glitch, your terminal should show something like this:

Fig. 4.16 Successfull Docker build.
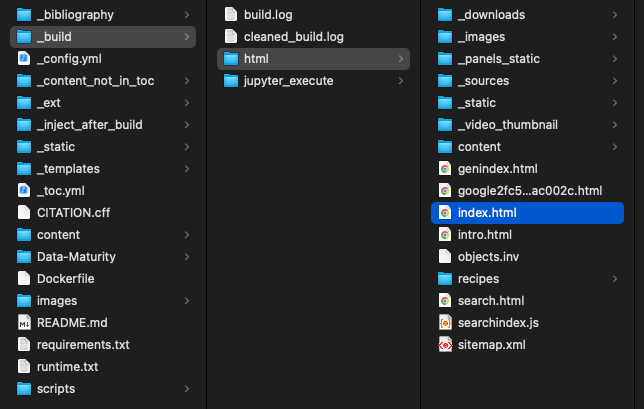
and a new _build folder should have been created in the directory holding the FAIR cookbook source code. The

Fig. 4.17 resulting _build folder
Warning
In case of build failure, you may have to purge (delete) this ‘_build’ folder entirely in order to allow docker to build from source again. This is usually the case when an error has been logged in the build.log file.
Warning
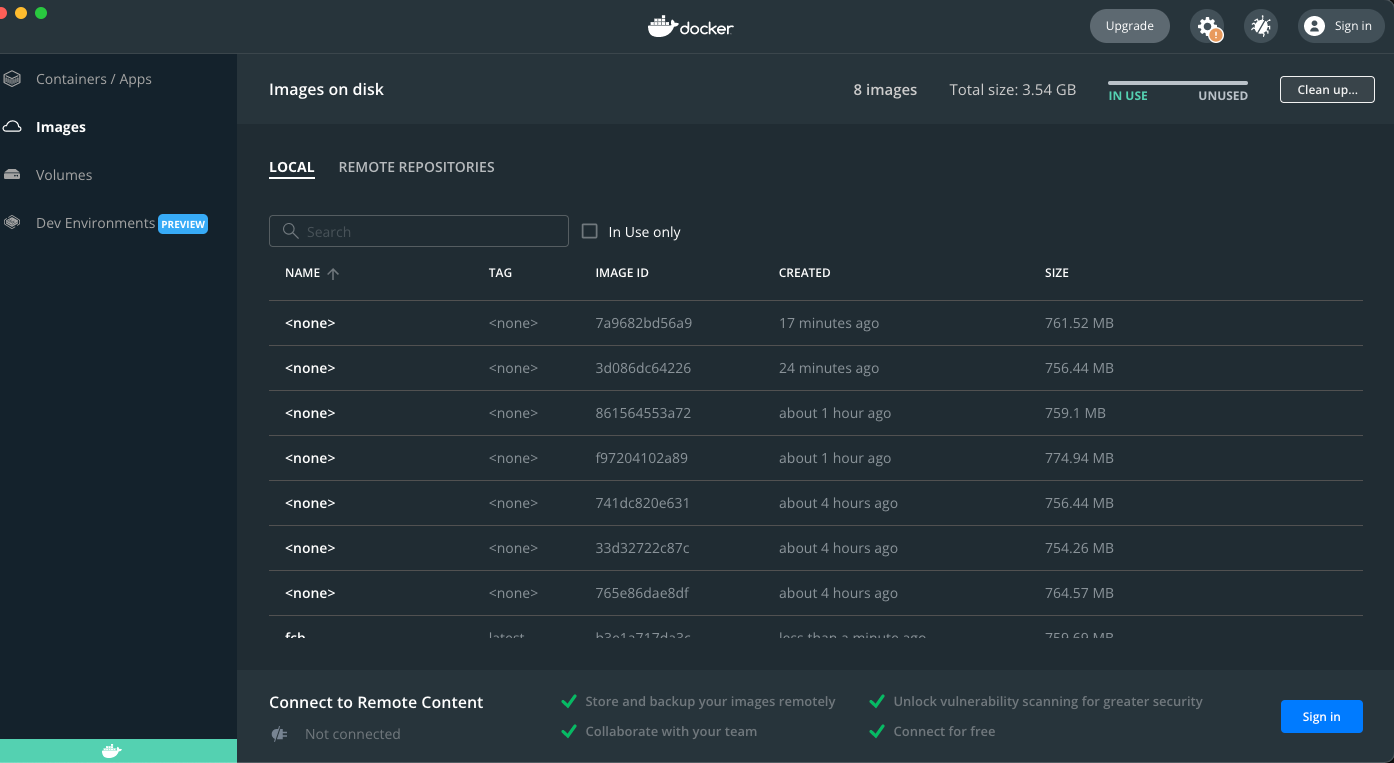
Remember to clear your docker cache to free up resources after a busy session of writing and testing !

Fig. 4.18 remember to cleanup Docker images
4.3.1.2. Building from source locally:
Prerequisites: 5. Make sure you have python virtualenv running and where you have installed the jupyter-book python module. If you don’t know what I am talking about, do the following:
install pyenv
once done, run pyenv install
, for instance
pyenv install 3.9.0
3. then you need to create the virtual environment by invoking:
pyenv virtualenv faircb390 3.9.0
4. to use the virtual environment, you'll have to call it using the following command:
pyenv activate faircb390
if all goes well, your terminal prompt should give you the status, indicate you are running in a virtualenv:
(faircb390) hodr-MacBook-Pro-3:docs bob$
5. Now install the python module **jupyter-book**. to do so, simply issue the following command:
pip install jupyter-book
NOTE: you may have to update **pip** if the system complains, sending a message looking like this
to update pip, issue `pip install pip --upgrade'
**Huzza!** You are now reading te test if yuor recipe can be built in the jupyter-book. To just do this, you need to run the following command from the root of the github branch.
From outside the project:
jupyter-book build -W -n --keep-going the-fair-cookbook
4.4. Option 1: Writing the recipe in Markdown syntax
use the recipe template available from the issue tracker “create new recipe”
the template uses the [Markdown syntax], for which guidelines are available here
the recipe template provides key sections for consistently structuring information about the process you want to document.
briefly, you will need to fill in the following 5 sections:
licence information: you may use the default information which is provided or provide the terms of use of your liking.
goal and objective of the recipe you need to summarize the task using keywords, ideally expressing them in terms of process or capability. you should also annotate the terms with an ontology term, coming from resources such as. EDAM.action or `OBI.planned_process or OBI.data_transformation
declare and list the input information types (data files, data types) and the expected output data types. you should use the table provided to structure the information and annotate those input. & output to indicate the file formats.
For doing so, we strongly recommend performing a mark-up by linking to either a FAIRsharing record about standards and with and EDAM.datatype
provide an overall graphical representation of the flow of actions required to accomplish the objectives set considering the set of input data elements.
the representation may be done using the Markdown syntax defined by the mermaid project*
graphic representation currently encompass visual representation such as Gantt chart, Flow Chart, Flow Diagram and Sequence Diagram. These diagrammatic representations are particularly useful to indicate key decision processes, action to perform and data transformation path which may be considered in various contexts.
provide executable code in the form a notebook. the code could be organized according to the cookie cutter templates for data science, which enhances the replicability of the process.
you may also provide a machine actionable workflow and associated containers for execution in a safe environment or as microservice.
don’t forget to fill in the table of authors and contributors, by making sure you provide the orcid for each of contributors and the contribution by using the CredIT role
consider minting a DOI for the new recipe, so it is citable and versioned.
4.5. Option 2: Writing the recipe as a Google document
The main benefits are the collaborative editing feature capabilities this allows. The main drawbacks are the conversion losses that are bound to happen when using add-ons such as:
:zap: this add-ons may create security concerns and may not run on the FAIRplus Google Drive, meaning the conversion would have to happen outside that private drive.
4.7. Authors
Authors
Name |
ORCID |
Affiliation |
Type |
ELIXIR Node |
Contribution |
|---|---|---|---|---|---|
University of Oxford |
Writing - Review & Editing |
||||
University of Oxford |
Writing - Review & Editing |

